If you have opened your cooler to find spoiled food and spilled beer while camping, then we sympathize with you.
And believe us – this can happen with the most expensive coolers on the market. Now, we aren’t saying that it’s rocket science, but there are still some basic things that will help prevent this mishap.
Hence, we bring you this guide on everything you need to know on how to keep food cold while camping.
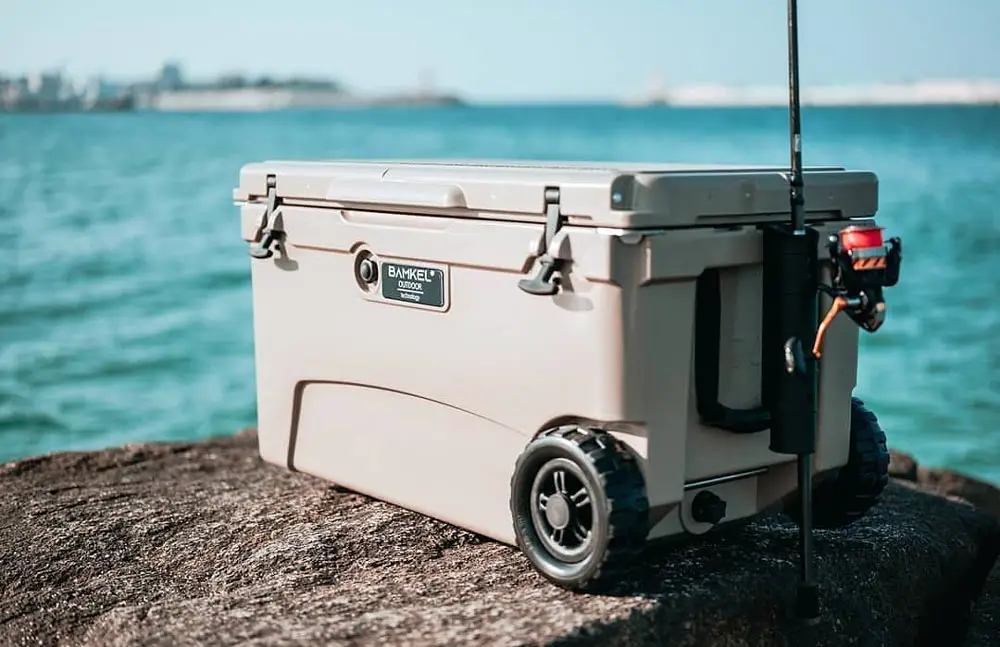
A High-End Cooler makes a big difference
Before anything else, it’s important to understand the type of cooler that is best suited for your camping trips. Sure, there are a lot of options based on the build material, but we don’t want to bore you with those technical details. So, we will make the job easier for you; all you have to do is take a pick between hard-sided and soft-sided coolers.
As the name suggests, hard-sided coolers feature heavy-duty construction for superior cooling efficiency. Most modern hard-sided coolers feature advanced insulation technologies and freezer-grade lid gaskets for prolonged cooling.
Furthermore, hard-sided coolers are available in both plastic and metal bodies and naturally, the latter may weigh slightly heavier. While opting for such a cooler, ensure that it has insulated lids and seals for optimum cooling.
Speaking of soft-sided coolers, they are pretty suitable for carrying food and drinks for up to 4 people without breaking your back. These are built to be lightweight and robust, ideal for packing meals for a small family weekend retreat.
Additionally, modern “super” soft-sided coolers have high-density foam padding for excellent cooling. These units are also tested to keep the ice from melting for a said number of days in certain conditions.
Prep a Cooler like a Pro
Without proper preparation, even the most expensive coolers may fail to keep your edibles adequately cool. So, in the following sections, we will quickly walk you through some easy but effective prepping steps.
Clean Thoroughly
We are often guilty of packing coolers with food, drinks, and ice minutes before leaving for camping. However, that’s a less than ideal way to reinforce its cooling efficiency. We’d strongly recommend cleaning the cooler after every use (or even if you’re using it for the first time).
Simply wash it with some warm water and soap or diluted bleach (for intense cleaning) and allow it to dry completely. You can use a rag or keep it out in the sun for a day.
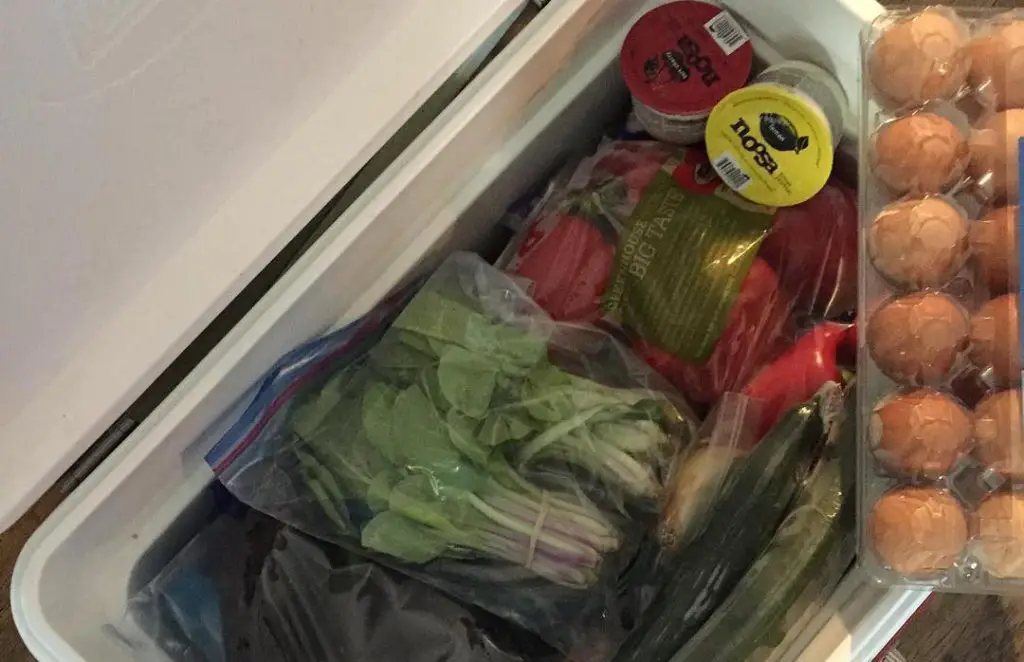
Pre-Chill The Food
So that you don’t waste the ice in cooling down the food rather than keeping it cold, store everything in the freezer till the last moment before packing the cooler. You can also chill empty containers, bottles, and even cutlery if you plan to carry them in the cooler. This will maximize its cooling efficiency.
A pro tip: don’t freeze food or beverages that will be consumed immediately after you reach the spot.
Freeze The Cooler
As an additional step, you can freeze the entire cooler by storing it lid-open in a walk-in freezer, if feasible. Or, fill it with cold tap water, put a couple of “sacrificial” ice bags, and keep the lid closed tightly for at least 12 hours before packing it. This will help lower the core temperature to aid long-lasting cooling.
Best Way to Pack a Cooler
Now that the cooler is properly prepared, it’s time to pack it for the trip. But by packing, we don’t mean randomly throwing in ice, food, and drinks in the cooler. After all, your cooler is only as good as the packing!
Ask any camping enthusiast, and you’d know that packing a cooler requires skillful practice. From picking the right type of ice to stacking the layers, there are quite a few things to be done.
So, we have listed the most important steps of packing a cooler the right way in the following few sections:
Avoid Perishable Food
We know how tempting it can be to have a juicy steak by the bonfire, but perishable items like meat, fish, cheese, and bread will only add to the weight of the cooler. This is mainly because such items will need ample amounts of ice and packaging. On top of that, you’d have to ensure that juices from raw meat or fish don’t “contaminate” the other items in the cooler.
But if it’s difficult for you to part ways with the idea of having a steak night, put the frozen meat in an air-tight container and place it at the bottom of the freezer near the ice. Double-check that the raw juice doesn’t drip off to spoil the other food items. Otherwise, carry the perishable items in a separate cooler.
Use Frozen Bottles of Water
Freezing drinkable water is a great cooler-packing hack as the frozen water will automatically double as ice packs to keep your food cold and fresh. Not only are there fewer chances of a leaking water bottle flooding your cooler, but you will also have a good supply of cold water.
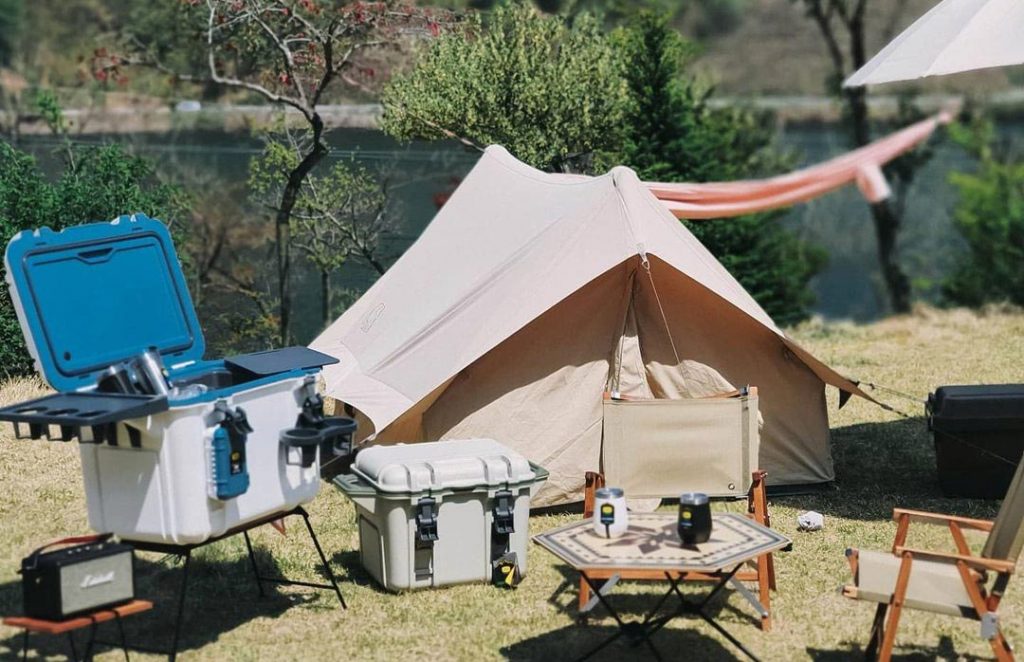
Use A Separate Cooler For Drinks
Many campers prefer carrying separate coolers for beverages and food as this helps in more effective cooling of all the items. Remember that opening a cooler frequently will disrupt the cooling cycle, requiring the cooler to start cooling all over again. This also increases the risk of the food getting spoiled.
Hence, you may pack one with heavy meals and the other with all the beverages.
Pack Related Items Together
Packing related items together will save you the trouble of digging in to find the ingredients while making a meal. For instance, pack the sliced vegetables in one sealable pouch or air-tight container and do the same for bread and tortilla wraps. If possible, keep them together to prevent the frequent opening and closing of the cooler.
Keeping Food Cold With Dry Ice
Going back to our point about using the right type of ice for packing a cooler, we’d suggest going for dry ice. Due to its extremely low temperature (-103.9 degrees Fahrenheit), dry ice doesn’t melt as fast as regular ice, providing up to twice the cooling per pound.
Moreover, it doesn’t melt to form water puddles but turns into CO2 for mess-free packing.
You’d want to start by placing a large block of dry ice at the bottom of the cooler. Then, place the food items that require freezing just at the top of the ice. Likewise, the items on the top (just below the lid) will remain cool but not frozen.
If you don’t want any freezing at all, separate the ice from the bottom-most layer of food with a towel or cardboard. However, use adequate caution while handling dry ice and make sure that you keep some room in the cooler so that the released CO2 doesn’t exert too much pressure on it.
Keep Your Cooler CRAZY Cold
Here are some more tips to keep your cooler chilled:
Draining the Meltwater
As long as your food is packed securely so that it doesn’t come in contact with the water, you can keep the meltwater to aid the cooling of the remaining ice. The cold meltwater will keep the contents colder compared to ice alone. Drain the water only if you need to make space for more items or are adding more ice.
Keep The Cooler In The Shade
Try to protect the cooler from the sun by placing it in the shade under big trees and tarps, behind trees, inside tents, and in dedicated storage spaces on the campsite. At the same time, keep an eye on the direction of the sun to find the best shade.
Keep a Thermometer In Your Cooler
Generally, the ideal temperature for the inside of a cooler is below 40 degrees Fahrenheit. So, it may be a good idea to keep a thermometer for keeping an eye on the temperature level.
Use A Dry Cooler For Heat-Sensitive Items
Dry coolers like styrofoam coolers use air to create a “cold zone” that, in turn, prevents the entry of heat. That’s why it’s preferred to store heat-sensitive perishable items even for longer trips lasting more than 3 days.
Using a 12 Volt Refrigerator
A 12-volt refrigerator or cooler is a good alternative to conventional coolers. You can choose a mid-sized 12-volt model that is adequately insulated and can be easily powered by your vehicle.
Although it should be connected to a power source at all times, the refrigerator will still keep cool for some time, depending on the outside temperature, how full it is, and how frequently it’s being opened.
Conclusion
That has brought us to the end of our guide.
We hope that our efforts have helped you find all the cooler packing solutions for your next backpacking trip. But before we leave, here’s one last bit of advice: pack the cooler as compactly as possible as this will improve the overall efficiency of the cooler.
If you’re packing with dry ice, use small ice pellets to fill any gaps.